
Growing pumpkins from seeds, so easy! A quick guide how to use a whole pumpkin and make more year after year.
- Mama Mathis

- Jan 21
- 2 min read

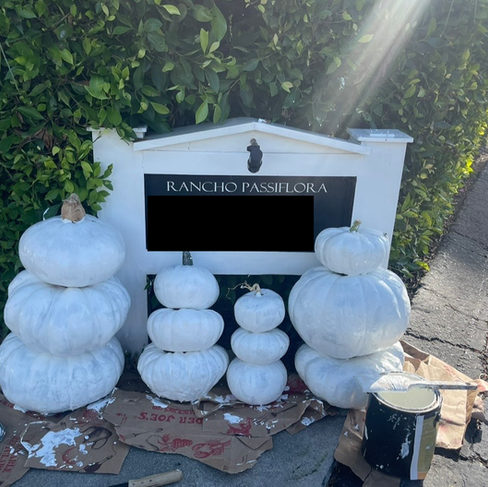
Nature is just amazing! It gives us the tools that we need to continue to re-populate itself. Now, if you know me, I do love myself a beautiful pumpkin display. This isn’t just for October, I have pumpkins from September through December. I love putting out pretty heirloom pumpkins as they start harvesting in September and adding my carving pumpkins throughout October. Keeping out my heirloom pumpkins for November, and then in December, I stack them, paint them white, and make my own pumpkin snowman. Here, where I live in California, we do not get snow so a pumpkin snowman it is!


The amazing thing with pumpkins is how long they will last if you do not carve them. Make sure to also not get a nick in them as at that point they will start decomposing. I am able to keep mine for so long as they have the ability to stay good for months and months if you do not harm their outer layer.

Once I’m done with using them, in January, once Christmas is all put away, I will take a day to crack open my pumpkins and save the seeds that I will use to plant in March. Here's a look at what they stated, just from using the easy tips laid out below.

Here are the big tips for harvesting your seeds so that you can plant them. DO NOT WASTE TIME CARVING! Simply cut open the pumpkin in half and scoop out the seeds.
This is not a daunting process like carving pumpkins. Because you’re just looking for the seeds you simply cut the pumpkin in half scoop out the seeds and wash them.

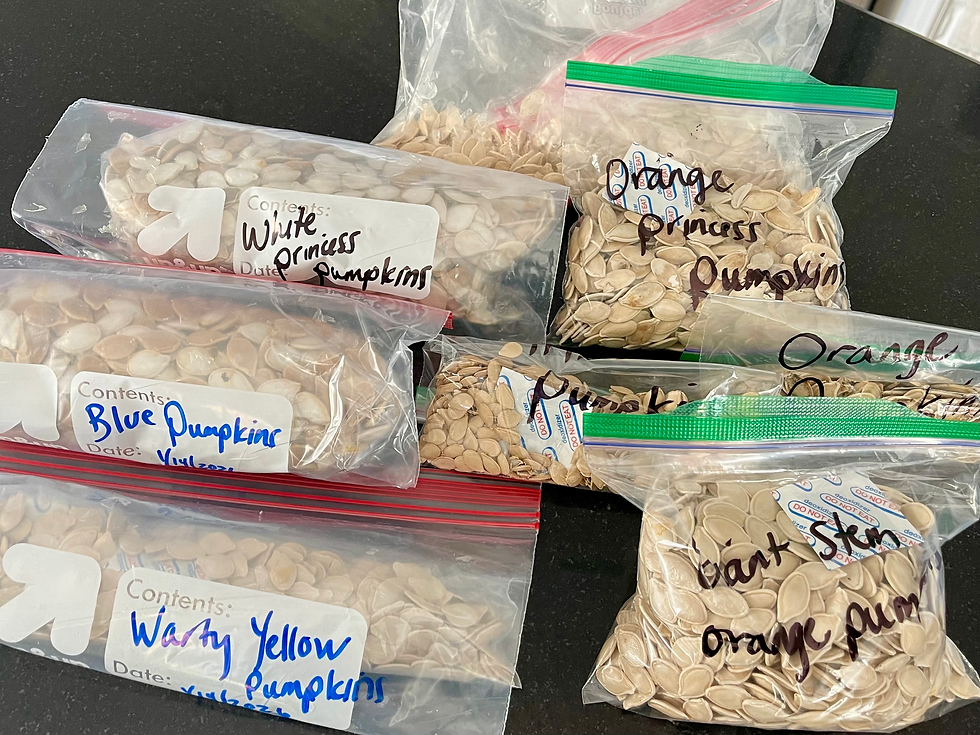
Once I wash my seeds, I lay them on a cookie sheet lined with parchment paper to let them dry out. Make sure to write what kind of pumpkin is on the parchment paper so that you know when you’re packing them away.

Keep your seeds on the parchment paper, drying out for two weeks.
I know this seems like a little bit of overkill; however, if there is still any moisture left in that seed, they are just going to rot when you pack them away
Now I just use Ziploc to put the seeds in and write on the outside of the bag the type of seed it is.
I add a moisture absorbing packet for safekeeping:

You can buy those very inexpensive on Amazon and I have attached the link here:
I also keep the stems as they elevate a store-bought plastic or fabric pumpkin just by using some hot glue to fasten it to the top in place of an ugly plastic stem:

Now with the rest of what is left of the pumpkin, I feed the chickens. No part of a pumpkin goes wasted around here!

And that’s it, beyond simple and beyond satisfying. No need to spend a bunch of money to make a fun and festive display when that fun and festive display can come right from your yard and you can make it year after a year using the seeds from your own pumpkins. I might’ve been there, and I might’ve done that.
Xo,
Mama


